We sell seeds for many of the wildflower, grass, and shrub species in our catalogue. Germinating native seeds is often not as straightforward as with highly cultivated vegetables or ornamental species. The following guide will help you troubleshoot native seed germination and increase your success with native plant seeds.
When You Purchase Seeds
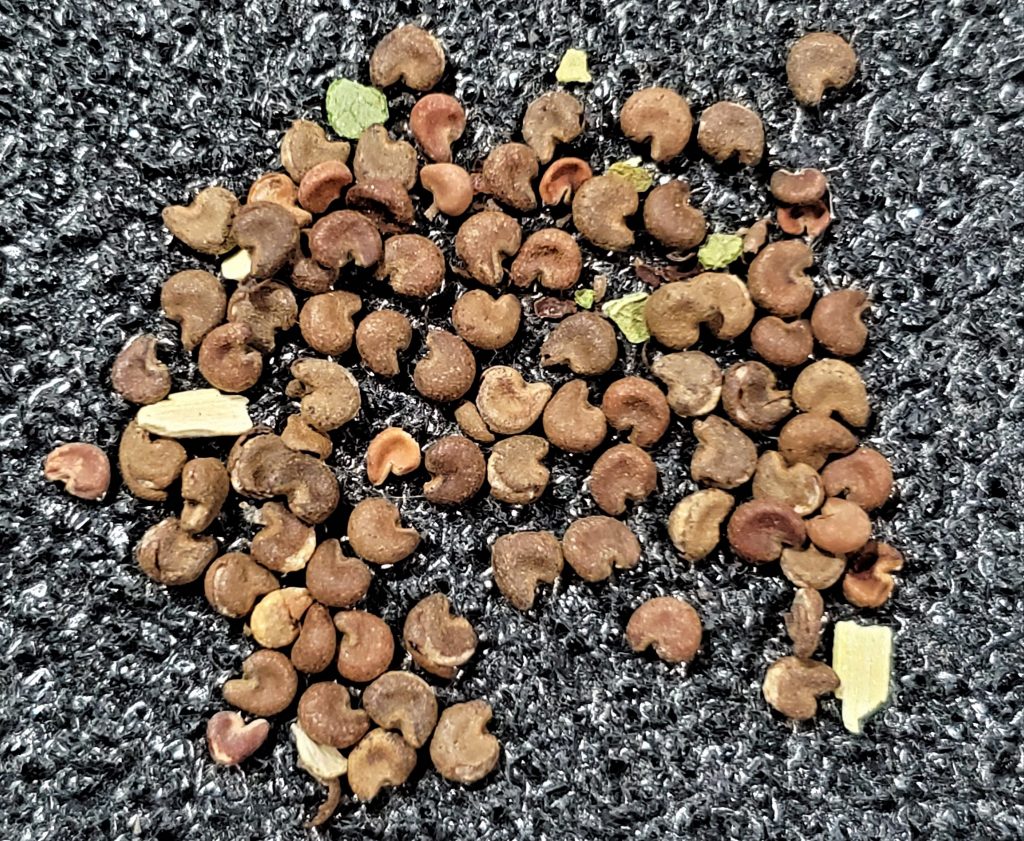
When you purchase a seed packet from us you will be provided with basic instructions for germinating them. Any recommended seed treatment information will be provided. We also have an instructional video to understand stratification and scarification–two very important seed treatments.
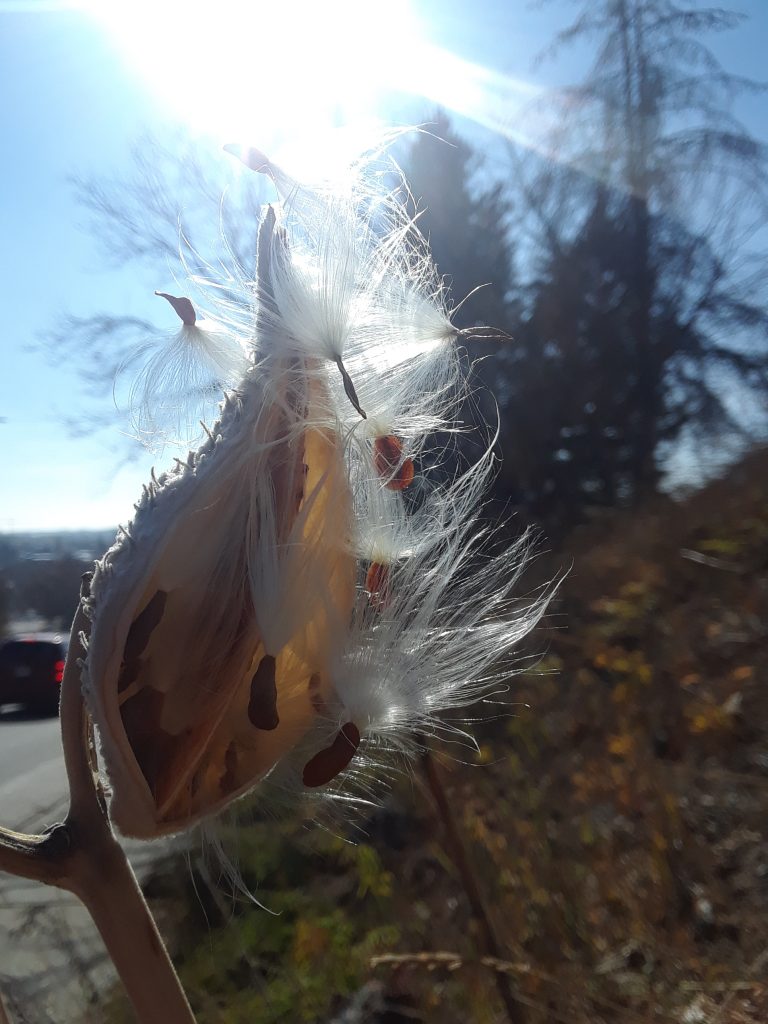
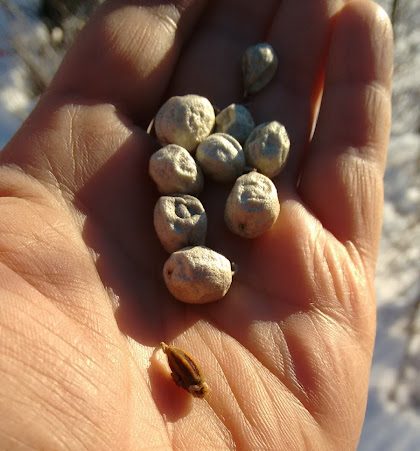
Starting Out
Most seeds do well started outdoors in the spring. You can start 1-2 weeks before the frost-free date in your area. You could also start them earlier near a bright window or in a greenhouse. Early to mid-April should give your plants lots of lead time on the season. We always recommend starting seeds in a container with good drainage in clean growing medium.
Many people assume that wildflowers should grow easily if simply sown directly on the ground but in nature typically less than 1% of seeds, naturally broadcasted from the parent plant, ever survive to adulthood. If your project requires you to direct-sow seeds we recommend a general seeding rate of 50 to 100 seeds per square foot although this detail will depend on the site, your goals, and the species involved. The site should be well-prepped to reduce competition from weeds and weeding should be continued until the native plants are established. If your seeds need stratification, it may be beneficial to direct seed your site in the late fall.
Follow the seeding directions provided with your seed packet. Some seeds will need to be sown on the surface of the growing medium and others up to a 1/4 inch into it. After sowing, gently press your seeds into the growing medium being careful not to over-compact as you want to maintain some air space between particles. Water your seeds in. Be mindful to use gentle water pressure and a shower attachment or setting. High-pressure water can cause tiny seeds to blast away or get buried too deeply in the medium. For very fine seed you can water with a spray bottle.
Note that if you have artificially stratified seeds in sand in the fridge, you can directly sow the sand and seeds onto a clean growing medium once germination has started. Then follow the watering recommendations below.
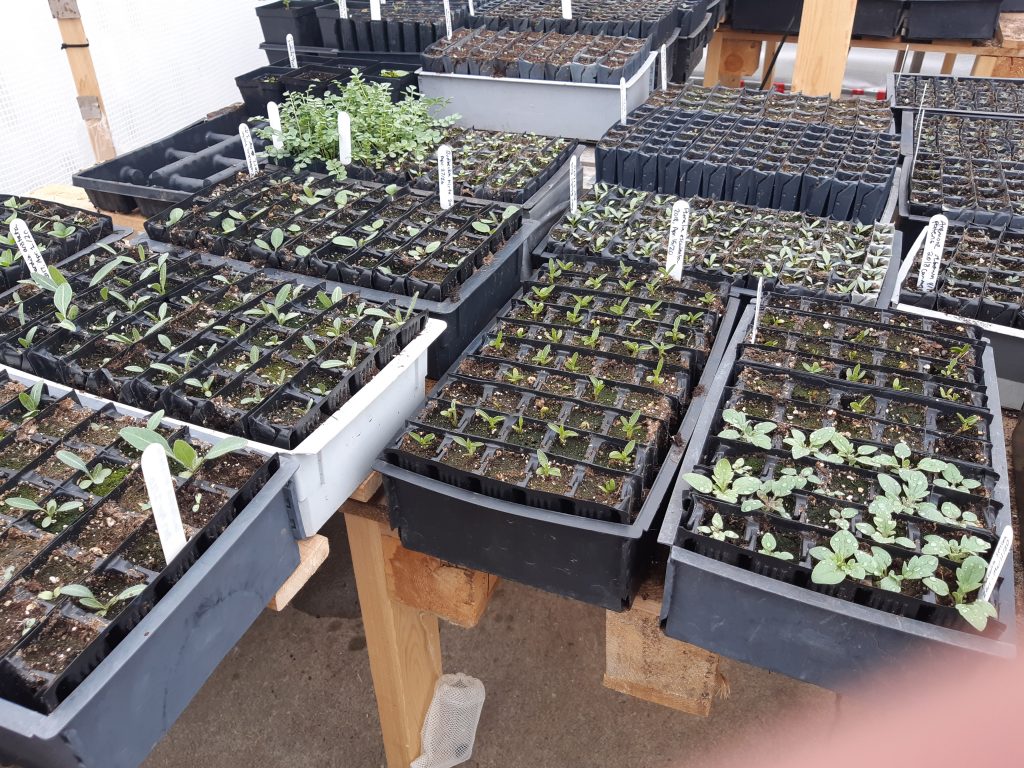
Watering
After your initial watering, keep seeds moist but not wet. If kept too wet, seeds can rot. The medium should feel moist to the touch but never soggy. Apply enough water to keep the top inch or two of soil moist and don’t let the seeds dry out. This watering regime must be maintained for up to 6 weeks for some species but more often 1 to 3 weeks.
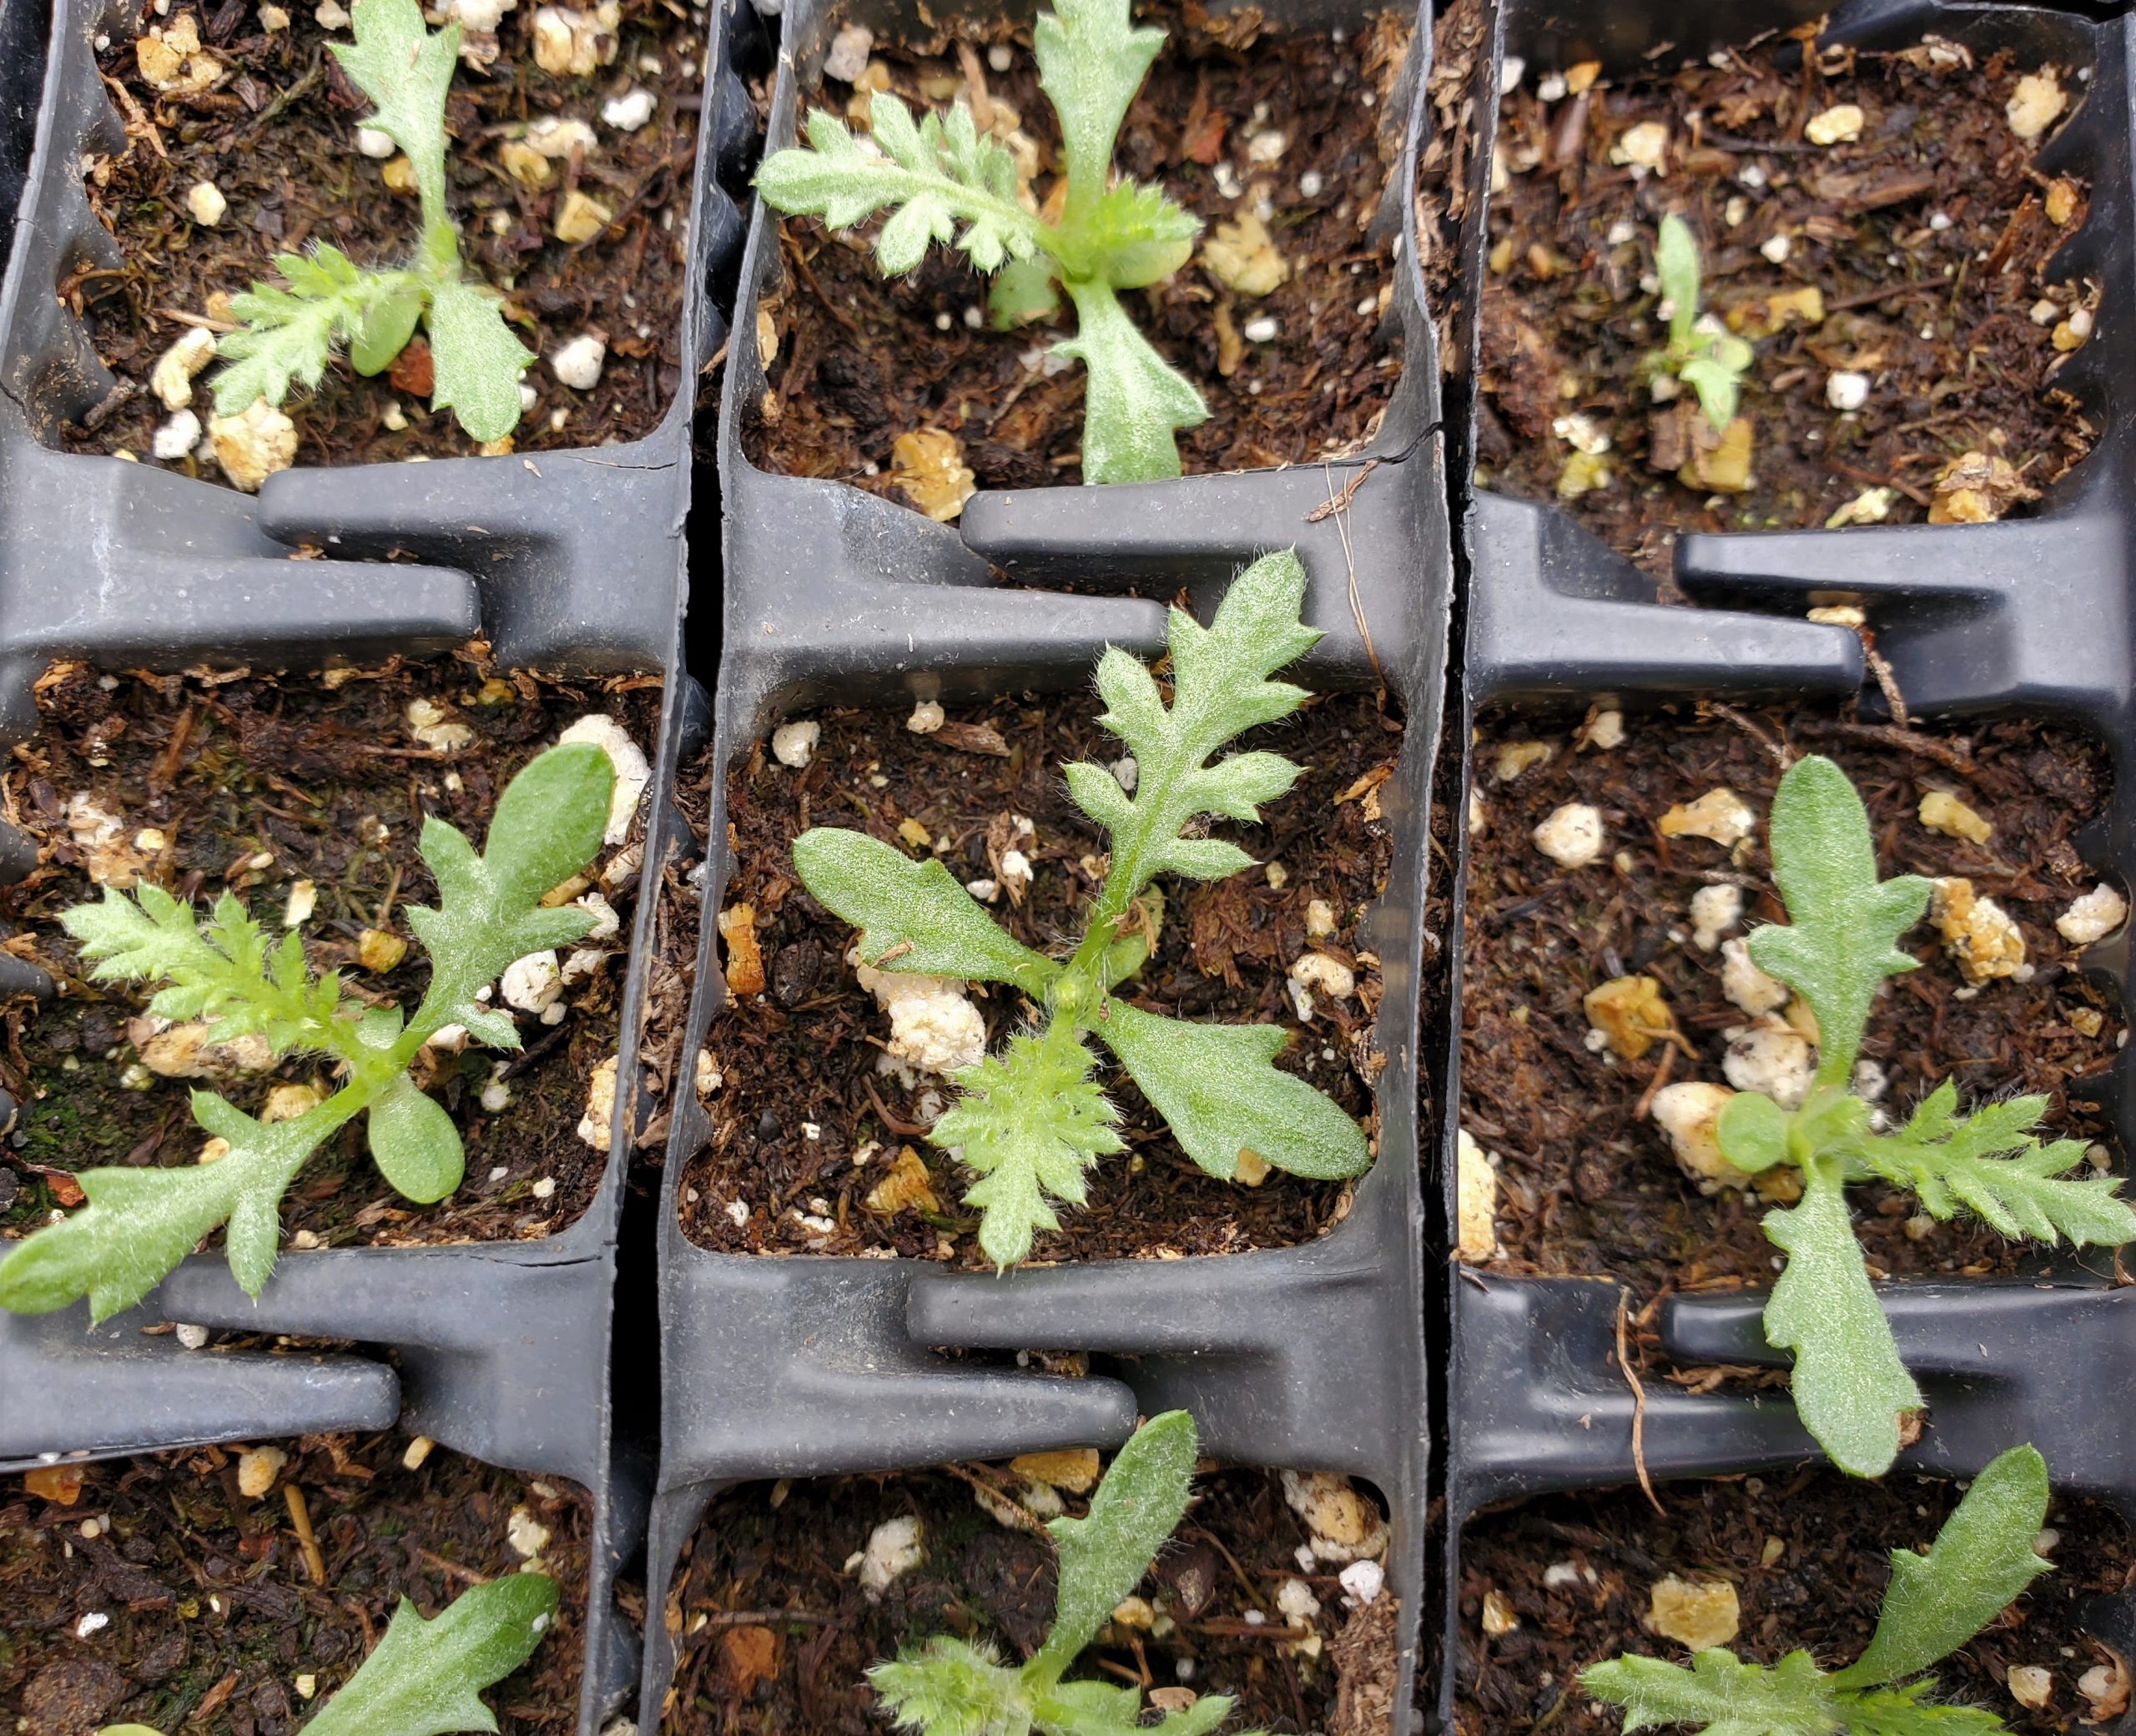
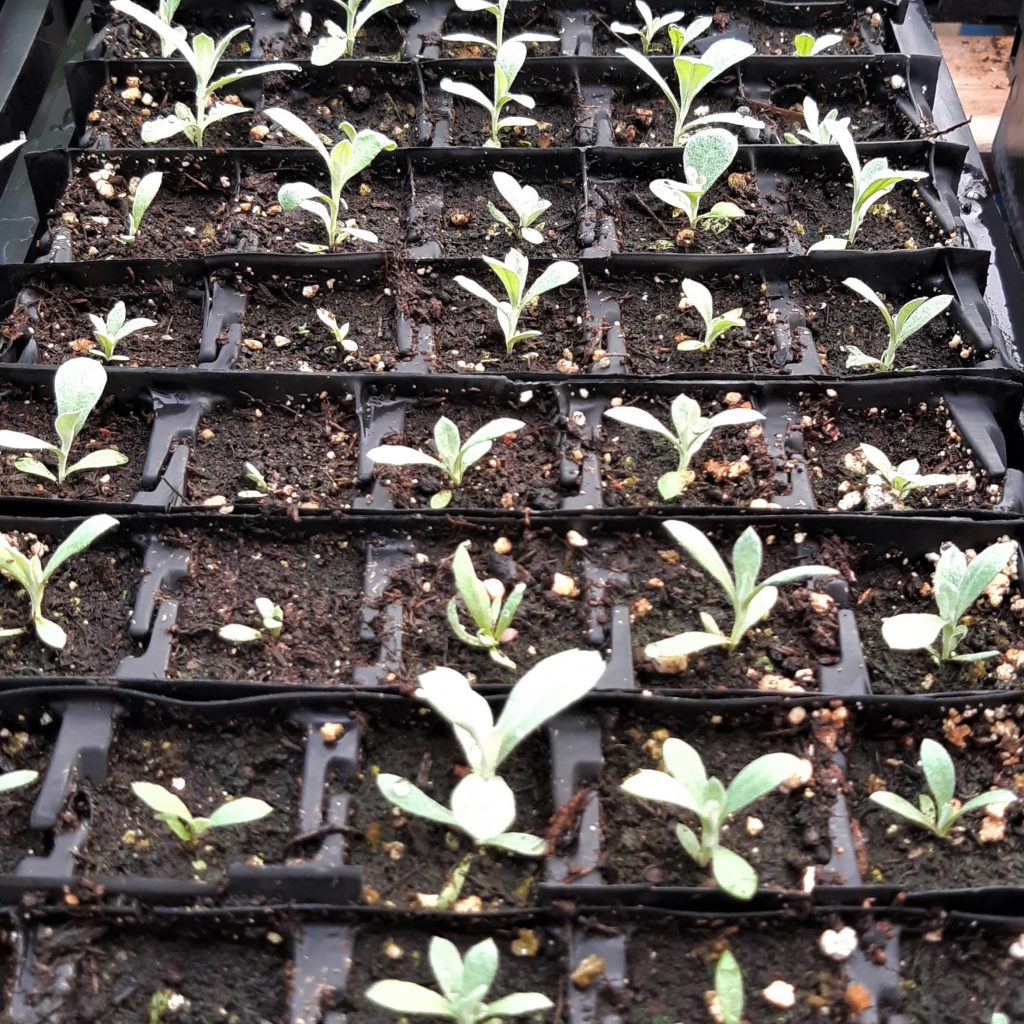
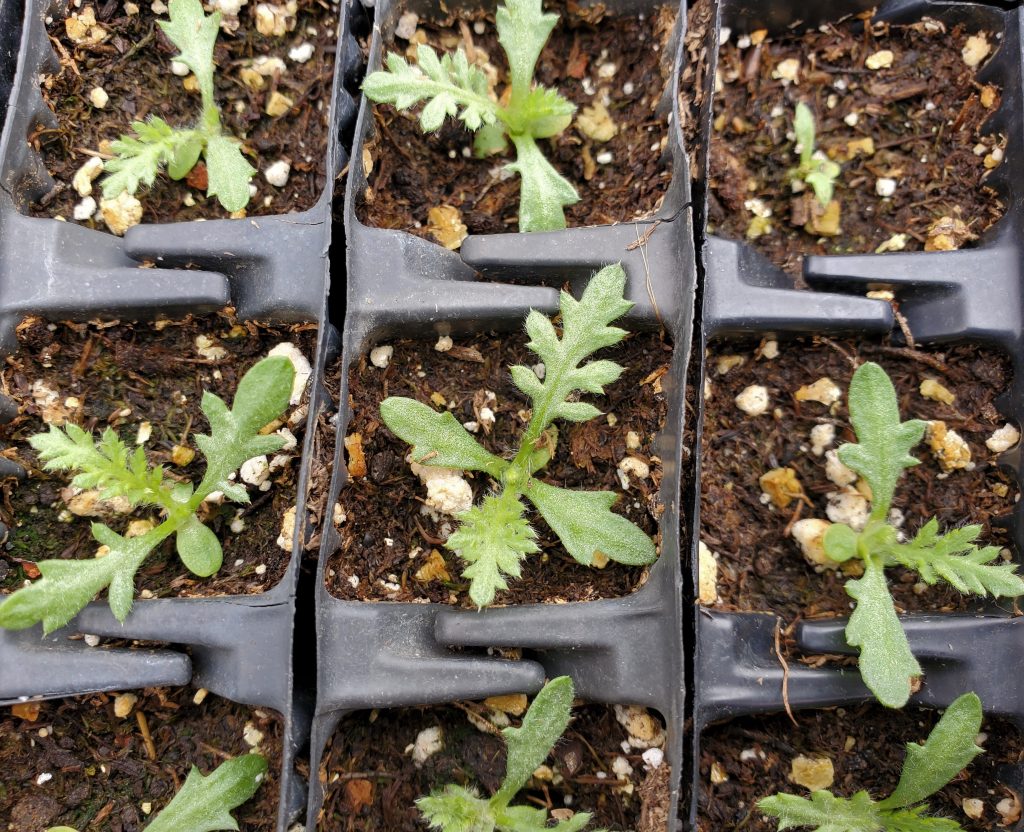
Once the seedlings start to germinate continue to maintain a moist environment. Young seedlings start out with a pair of seed leaves (cotyledons) followed by the first true leaves. Generally speaking, by the time the first pair of true leaves emerge the young plant will start to need deeper watering less often. Pay attention to how quickly the medium is drying out by using touch and weight to assess growing medium moisture level. Water the plant well to fully saturate the medium. Allow the top of the medium to dry about 1 inch down.
We recommend checking young seedlings for water every day, it is best to water earlier in the day. This practice helps prevent disease caused by water sitting on the leaves overnight at cool temperatures. If it has been a hot, sunny day check the seedlings again in the evening to make sure they have not dried out. As the plants get older you can allow more time between watering but be careful to adjust to heat and sun conditions. Most native plants in our area are adapted to drought so too much water can lead to stem and root rot. Exceptions to this would be wetland or riparian plants.
If a particular plant is susceptible to foliar diseases but you need to water later in the day you could bottom water in a bowl, etc. Keeping your containers in a part shade environment will help protect them from the hot sun at this early stage of growth.
Spacing
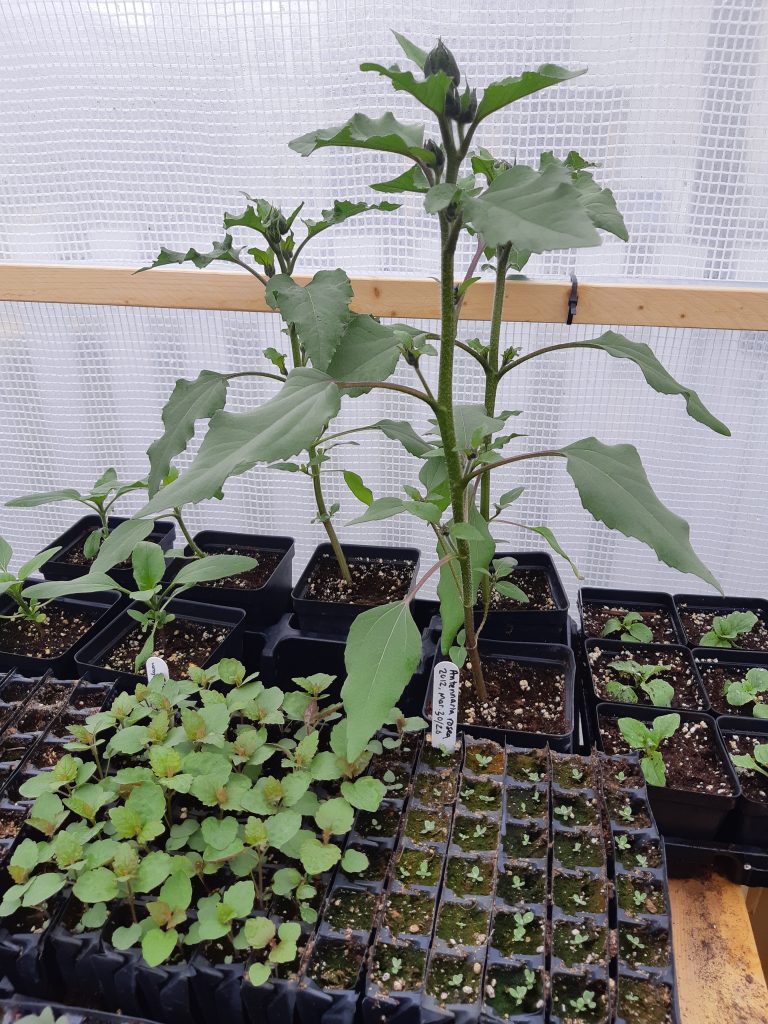
If you find that after germination the container you planted is full of seedlings you may want to consider transplanting some to another container. This is most safely done when the seedling has one set of true leaves. Plants will grow best when they have space and less competition although many species do appreciate companions. 2-3 seedlings per 4-inch pot should not be too much for most moderate-sized species. If the species becomes larger at maturity it is best to keep them one per pot.
Remember to do transplanting in a partly shaded area and to water disturbed media and plants immediately afterwards.
Germination Failure
We only sell seed lots tested for viability. However, there are various reasons seeds could fail to germinate. Here are some factors that can contribute to germination failure:
• Native seeds can have a variable germination rate ranging from 10% to 90%. This varies between species, years, and collection locations among other factors. Low germination rates affect the probability of germination success.
• Many native species have a staggered germination rate. This means some seeds will germinate immediately and others later, perhaps several weeks but sometimes 1 or more years later.
• Small seeds can get washed away by strong water pressure or heavy rain. Be aware that seeds with a pappus should be sown into the medium to avoid being blown away.
• Seeds can rot if overwatered. A dense medium that does not allow sufficient airflow or inadequate container drainage could also contribute to this problem. Healthy seeds naturally resist fungal infection so mould growth indicates overwatering or non-viable seeds.
• Inconsistent watering can also affect germination. If the seeds are allowed to dry out too often this could inhibit the signals required to initiate germination.
• Seeds can be eaten by birds and other wildlife. You can use a wire mesh to create a barrier over the seeds and protect them from larger animals like birds and squirrels. Be careful to raise it or remove it before the plants get too old and grow into the mesh, becoming stuck.
• If the recommended seed treatment has not been properly implemented this can prevent the seed from germinating. For example, seeds that require scarification cannot imbibe water unless scarified. An unimbibed seed is a dormant seed.
• Temperature and light are two factors that can significantly influence seed germination. Some species require cooler overall temperatures and will not germinate in the mid to late season heat (e.g. Asters, Symphyotrichum spp. and Beebalm, Monarda fistulosa). For some seeds germination is triggered by light exposure (e.g. Pussytoes, Antennaria spp.). Small seeds that require light to germinate will not germinate if they become buried in the soil. If you are trying to germinate seeds in the late spring or summer, the seasonal conditions may not be favourable for the species you are trying to germinate. Try changing the container location if the container has been kept in a very bright or very shaded environment.
• Seed viability slowly decreases over time. How fast this happens depends on the species as well as the storage conditions of the seed. Older seeds may not germinate as well as newer seeds. In some cases, however, dormancy decreases with age and germination will increase with age (e.g. Blue-eyed Grass, Sisyrinchium montanum). Seeds should generally be stored in a dark, cool, and dry area.
Failure to Thrive
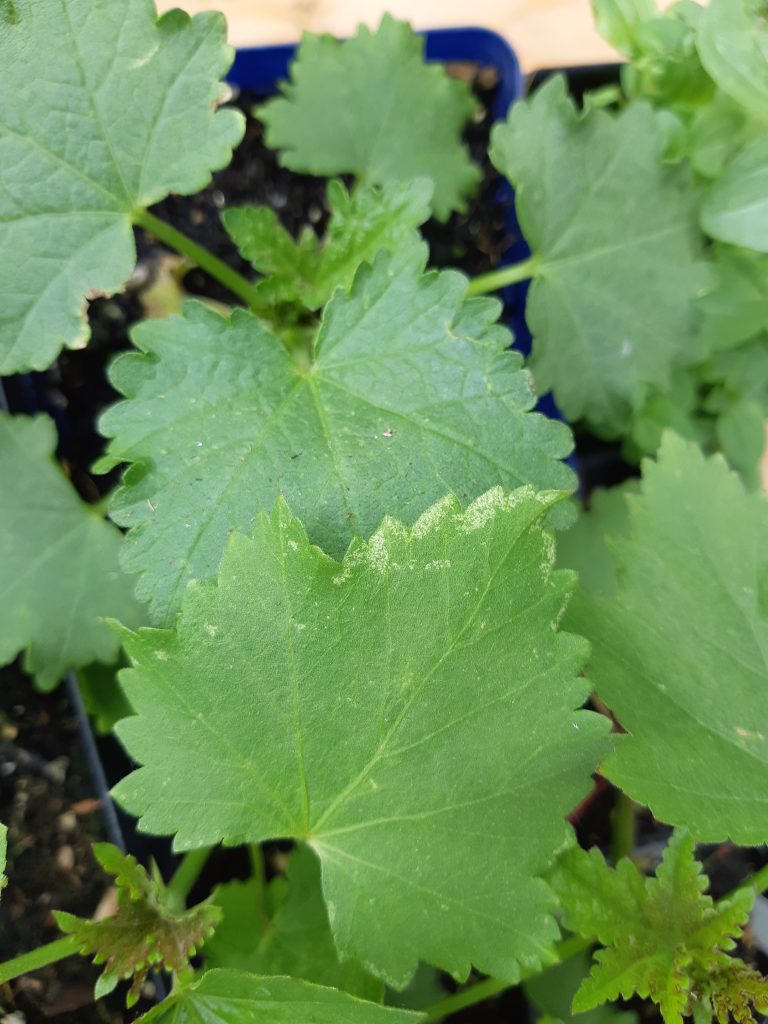
Seeds may germinate but then die sometime later. It is helpful to observe your dead or sick seedlings carefully to diagnose the underlying problem. Here are some factors that contribute to seedling death:
• Overwatering is a common cause of native seedling death. People commonly expect native plants to need as much water as vegetables or introduced ornamentals. Depending on the species, they often prefer less watering. Excess water prevents oxygen from reaching the roots, leading to rot and plant death. Inadequate container drainage or an overly compact or dense growing medium can contribute to this problem.
• When the weather is hot, dry, or windy seedlings tend to dry out more quickly and underwatering in these conditions often causes seedling death. Woodland species (e.g. Red Baneberry, Actaea rubra) may require higher humidity for the cotyledons to successfully emerge from the seed coat. This is due to the seed coat becoming hard and brittle in low-humidity environments. In this case, direct sowing in the ground or creating an environment with artificially high humidity will improve germinant survival.
• Damping off is when a young seedling gets attacked by a fungus early on and is not strong enough to fight off the infection. Damping off can cause shrivelled stems, wilted leaves, or stunted roots. Damping off indicates that a pathogen is present in your growing medium and you must remove the contaminated medium and sterilize your growing container before using it again.
• Young seedlings can be eaten by wildlife including insects, birds, and squirrels.
• Some tenacious seedlings can emerge with their roots in the air: in particular legumes and Blazing Stars (Liatris spp.). If the seedling position is not corrected the root will dry out and the seedling will die.
• Young seedlings must be handled with great care. If the young stem or first true bud (apical meristem) are seriously damaged the plant will die.
• Some species will not grow much in the first year and will “die” back or senesce mid to late summer (only the top growth disappears but the root is still alive). This is typical of Shooting Stars (Primula spp.), Biscuitroots (Lomatium spp.) and Prairie Turnip (Psoralea esculenta), especially in containers.
Young Plants
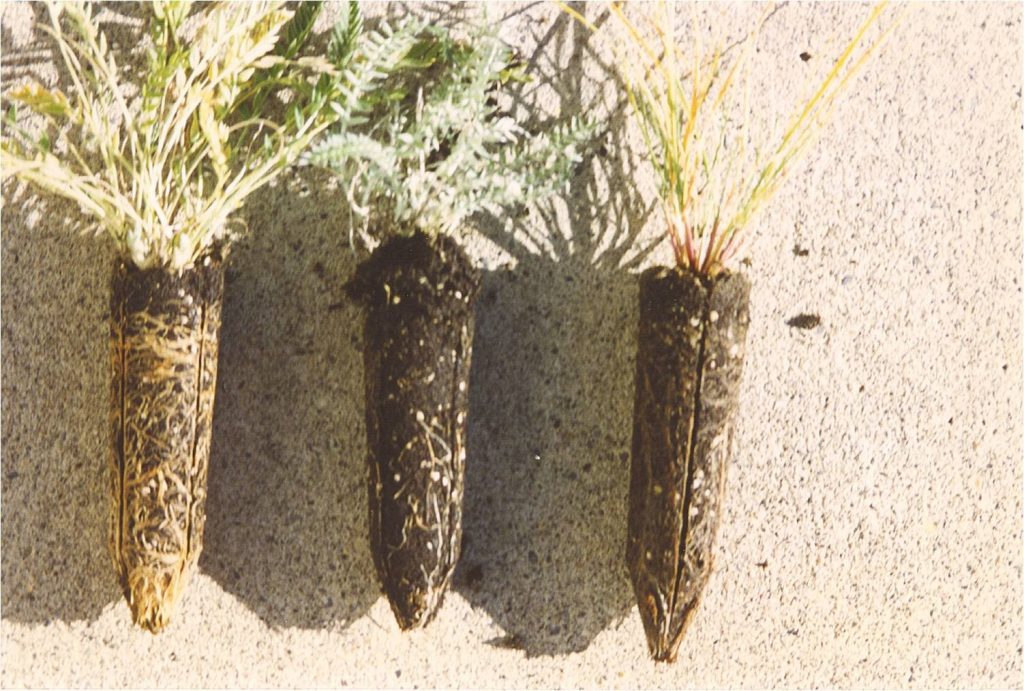
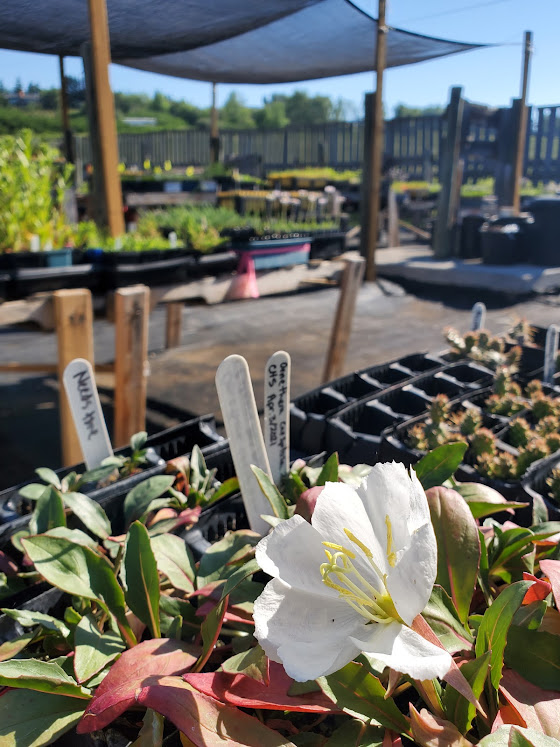
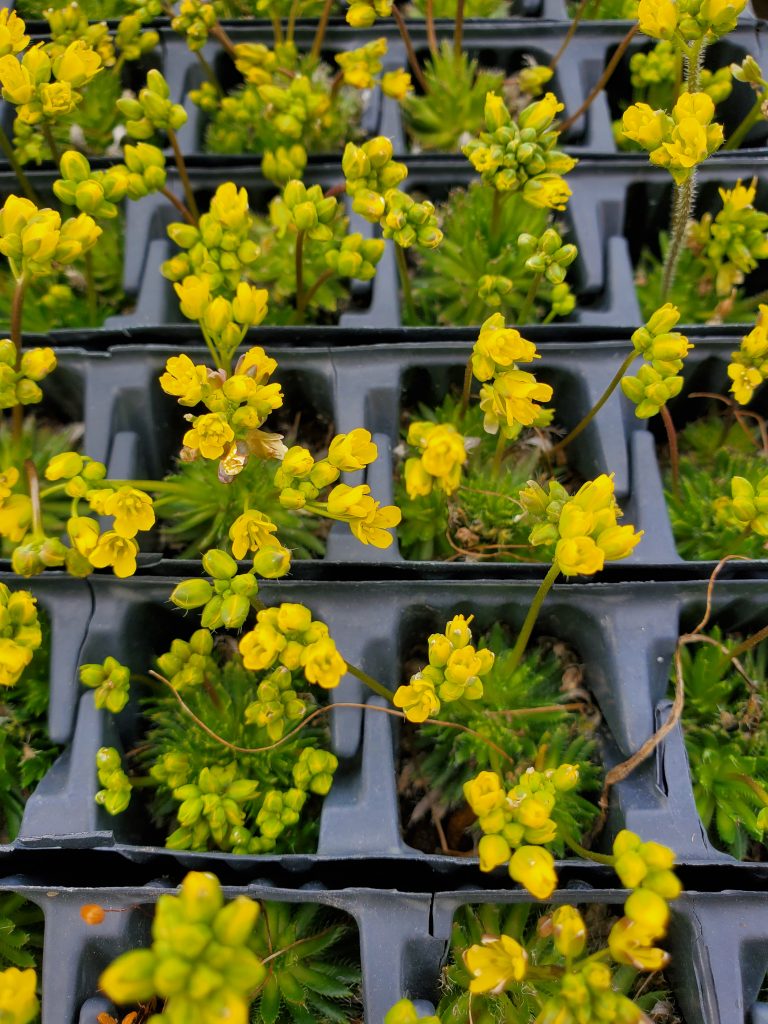
Once your plant has matured, with several pairs of true leaves, and some healthy roots filling the growing container, they are usually ready to be planted in the ground. First-year perennials tend to stay small as they spend most of their energy establishing roots. Expect most perennials to flower 2 to 5 years after germinating. The timeline depends on the species. Biennials will flower in their second year and usually not survive into a third year. Annuals will flower in their first year and will not survive into the second year. Biennials and annuals both grow very quickly and are great to use to rapidly fill in your garden while waiting for perennials to establish. Save seeds or allow seeds to fall on the ground and germinate naturally for annual and biennial plants to continue their legacy.
Conclusion
Although germinating native seeds can be challenging it is also highly rewarding. Remember that failure is part of the learning process. You will gain a greater appreciation for the miracle of nature and the incredible odds overcome by native plants in the wild.
We wish you luck in your seed-growing adventure!
